Share


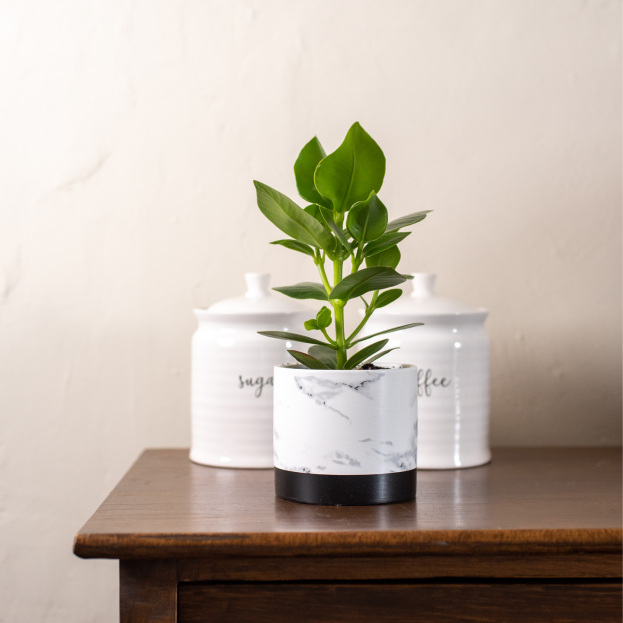
Clusia Rosea – also know as the autograph plant or autograph tree, since its leaves are so thick you could carve your signature into the leaves without cutting through them. (We do not recommend that anyone attempt this).
Clusia Rosea is a unique plant as it is one of the few indoor plants capable of absorbing carbon dioxide at night. Compared to most plants that do the exact opposite at night. This makes a great air purifier for your home!
Clusia Rosea plants do best in full sun but can also tolerate shade or impartial indirect light.
A Soft well draining soil and sandy soil is best for your Clusia Rosea. Growing this plant in soil with a pH range of 6.1-7.8 will ensure that the Clusia Rosea gets the nutrients it needs.
Regular watering is ideal during its first year of growth. These plants are drought-tolerant, but you should not let the soil dry out completely between watering's. During the summer they typically need watering once per week. In winter you can scale back on its watering to bi-weekly or three times per month.
Clusia Rosea plants should be fertilized three times per year, once during the spring, summer, and fall. Use an organic diluted fertilizer for best results.
This plant will not do well in temperatures of under 50 degrees Fahrenheit. Indoors they prefer temperatures between 60- and 85-degrees Fahrenheit.
Clusia Rosea prefers a high humidity environment. To keep the humidity level high, place this plant somewhere with high humidity such as a bathroom or kitchen. Or you can mist your plant lightly to help promote a high humidity environment for your plant.
Clusia Rosea is an easy to propagate plant. A 4–6 inch stem cutting that has several leaves on it will root easily in water or soil. Follow the below steps for a successful propagation.
1. Prepare your new pot with a suitable potting mix. An equal mix of peat, perlite and coarse sand are an ideal mix. Make sure that this soil is even and moist.
2. Prepare some small holes in the soil for your cuttings.
3. Take your cutting and gently insert them into the hole you created and gently firm the soil around the cutting to support them.
4. Cover your pot with cuttings with plastic to help create a high humidity environment for your plant to grow. This will improve the success of your rooting and prevent the cutting from drying out.
5. Place your new cutting in a warm area that receives bright in-direct sunlight. Check your soil every few days to ensure it maintains moist and rich soil.
6. Within a few days to a week or two, your plant should develop enough roots for it to start growing
7. You can then remove your plastic bag/wrap and continue with its normal plant care routine
Since Clusia Rosea is a very fast-growing plant, repotting may be an important need to keep your plant healthy.
Look for roots that emerge from the soil or out of the bottom of the drainage holes. These are signs that your plant should be repotted.
When choosing a new pot, only increase its size by 1-2 inches. Putting your plant in a pot that is too large can cause the soil to remain moist for longer after watering – which can increase the chances of root rot and overwatering issues. Follow the below steps.
1. Turn your plant on its side and gently slide it out from its current pot.
2. Remove any excess soil and gently loosen the roots . When doing this be careful not to damage any of the roots.
3. If you happen to notice any rotting or mushy, black/brown roots, you should remove these now with a set of sterile pruning shears or knife.
4. Prepare your new pot for your Clusia by adding a small amount of potting mix to the bottom of your pot. These creates a space/buffer between your plant’s roots and the bottom of the pot.
5. Place your plant in its new pot and ensure that the height of the plant is correct. Fill around your Clusia with soil to increase its stability in the pot.
6. Lightly water your Clusia once re potted – be sure to not give it too much water.
8. Place your new re potted plant in a warm area that receives bright in-direct sunlight. Check your soil every few days to ensure it maintains its moist soil.